You’ve spent hours researching parts, carefully installing components, and finally connecting everything—only to hit the power button and… nothing happens. No lights. No fans. No beeps. No signal.
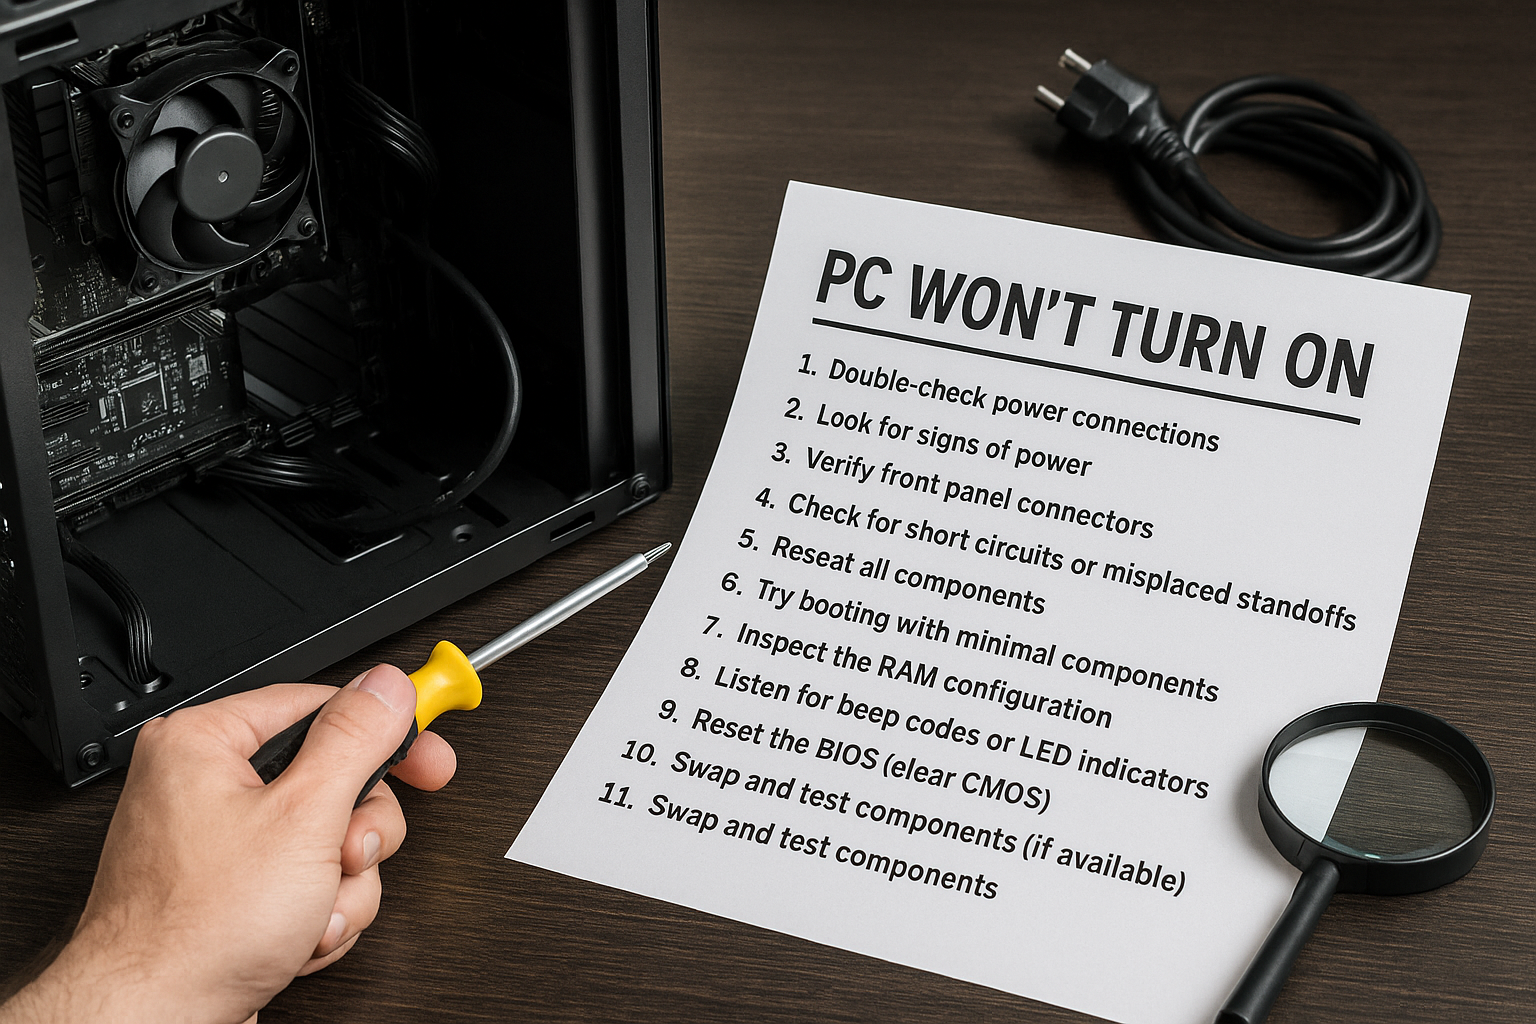
Before you panic, don’t worry. This is a common scenario when building a PC, and in most cases, it’s something simple. In this guide, we’ll walk you through a step-by-step checklist to diagnose and fix a PC that won’t turn on after assembly.
1. Double-Check the Power Supply Connection
Let’s start with the basics. Ensure your power supply unit (PSU) is correctly connected.
Key points to check:
- Main 24-pin ATX cable is plugged into the motherboard securely.
- 8-pin (or 4+4) CPU power cable is connected near the CPU socket.
- GPU PCIe power cables are connected (if required).
- The PSU switch is set to “I” (on), not “O” (off).
- The wall outlet and power strip are working.
Also, make sure the PSU is set to the correct voltage for your region (110V or 220V) if it’s a manual switch model.
2. Look for Signs of Power
Press the power button and observe any activity.
- Fans spin for a second and stop? Possible short or bad connection.
- No movement at all? Dead PSU, motherboard, or bad front panel wiring.
- RGB lights but no boot? Power is there, but something isn’t triggering boot.
If absolutely nothing happens, try the paperclip test on your PSU.
Paperclip Test (for ATX PSUs)
- Unplug the PSU from all components.
- Insert a paperclip into the green and black wires of the 24-pin connector.
- Turn on the PSU.
If the PSU fan spins, it’s likely functioning. If not, it may be faulty.
3. Verify Front Panel Connectors
Many failed boots come from incorrectly connected front panel headers (power switch, reset, etc.).
Check your motherboard manual and ensure:
- Power switch is on the correct two pins.
- Reset, HDD LED, and power LED are properly placed.
- They’re oriented with the correct + and – polarity.
If unsure, try jumping the power pins with a metal screwdriver to bypass the case button.
4. Check for Short Circuits or Misplaced Standoffs
Did you use all the right motherboard standoffs? A misplaced or extra standoff can short the board.
- Remove the motherboard and examine the tray.
- Ensure only the necessary standoffs align with the screw holes.
- No metal should be touching the underside of the board where there’s no screw.
Also, inspect for:
- Loose screws under the motherboard
- Pins bent in the CPU socket
- Cables rubbing or pinching metal surfaces
5. Reseat All Components
Sometimes a component simply isn’t seated fully.
Try reseating the following:
- RAM (remove and reinstall with firm pressure until it clicks)
- GPU (ensure it clicks into the PCIe slot and power is connected)
- CPU (if comfortable, inspect for bent pins or poor contact)
- Storage drives (NVMe/SATA connections)
Make sure all power cables are firmly pressed in—especially modular PSUs, where cables can loosen.
6. Try Booting with Minimal Components
Simplify your system to eliminate variables.
Disconnect everything except:
- Motherboard
- CPU + cooler
- 1 stick of RAM
- Power supply
Leave out:
- GPU (unless no integrated graphics)
- Storage
- Additional fans, RGB, and peripherals
Then, try powering on. If the system starts, gradually reintroduce components to find the problem.
7. Inspect the RAM Configuration
Incorrectly installed or incompatible RAM can prevent boot.
Tips:
- Always start with 1 stick of RAM in slot 2 (A2) on most motherboards.
- Check motherboard’s RAM QVL (qualified vendor list) online.
- Use matched RAM sticks (same speed, brand, capacity).
You can also try switching RAM sticks or using different slots.
8. Listen for Beep Codes or LED Indicators
Most modern motherboards have:
- POST LEDs that indicate errors (CPU, DRAM, VGA, Boot).
- Built-in speakers or headers that give beep codes.
Check your manual to decode these signals.
Examples:
- No beeps: power issue or motherboard failure
- 3 beeps: RAM problem
- 5 beeps: CPU issue
9. Reset the BIOS (Clear CMOS)
If you’re sure all hardware is installed correctly, but it still won’t boot:
To reset BIOS:
- Unplug the PC.
- Remove the CMOS battery (silver coin-like battery on motherboard).
- Wait 30 seconds, then reinsert it.
- Or use the Clear CMOS jumper if your board supports it.
This can resolve firmware or memory training issues.
10. Swap and Test Components (If Available)
If possible, test components individually:
- Try another power supply.
- Use a known-working GPU or RAM.
- Test the CPU or motherboard in another system (if you have access).
Borrowing a part from a friend or taking your PC to a repair shop for diagnosis can help isolate faulty hardware.
Bonus Tip: Check Your Monitor Setup
If the PC powers on but shows no display, it might be a monitor/input issue, not a boot failure.
Check:
- Monitor is set to correct input (HDMI/DP)
- Cable is working and properly inserted
- GPU is connected to monitor (not the motherboard if GPU is required)
- Use integrated graphics to test if GPU might be faulty
Final Thoughts: Stay Calm and Be Systematic
A PC that won’t power on can be frustrating, especially after hours of assembly. But most of the time, the issue is something simple—like a loose cable or a missed connector.
By following a methodical troubleshooting process, you can identify the root cause without replacing everything. Stay calm, double-check your connections, and take breaks if needed.
Every PC builder has faced this situation at least once—consider it a rite of passage!