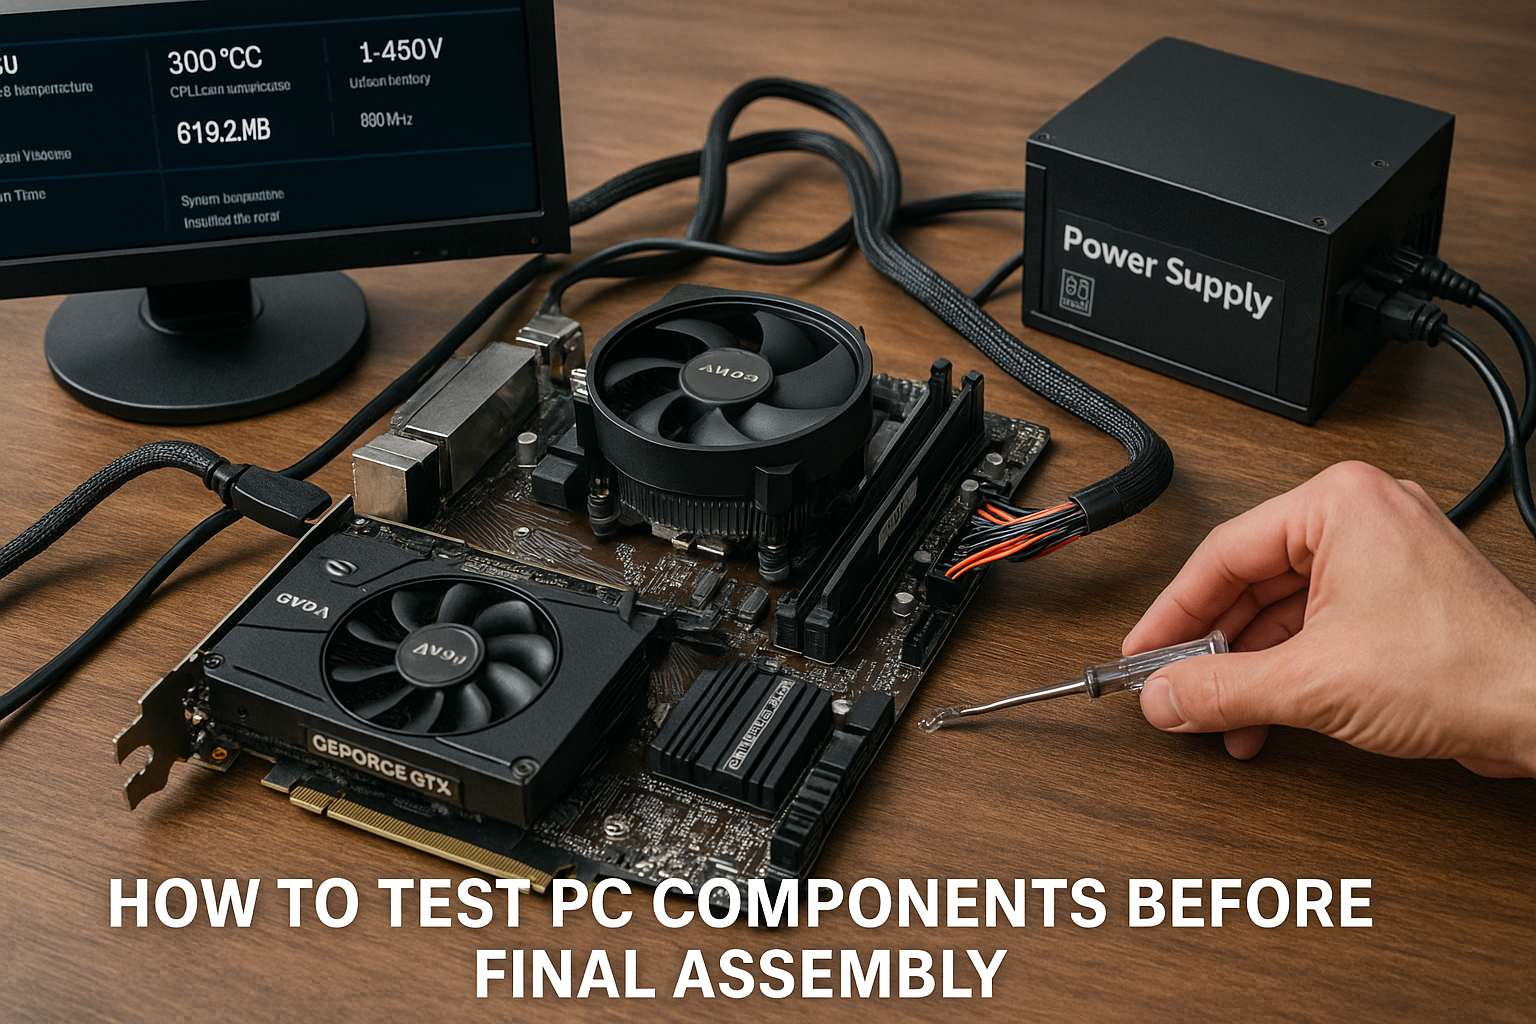
Building a computer can be an exciting experience—but there’s nothing more frustrating than fully assembling your PC, closing the case, and discovering something doesn’t work. That’s why seasoned builders often perform a test boot or open-air test before installing everything inside the case.
In this article, you’ll learn how to properly test your PC components before final assembly. This process helps identify faulty hardware early and can save hours of troubleshooting.
Why You Should Test Before Final Assembly
Testing components outside the case is often called a “breadboarding” setup. It allows you to:
- Identify DOA (dead on arrival) parts early
- Save time if something needs to be RMA’d
- Avoid removing the motherboard later
- Minimize cable routing and reassembly
By confirming your CPU, RAM, motherboard, PSU, and GPU (if needed) work properly, you gain peace of mind before tightening that last screw.
What You’ll Need to Test
To perform a proper pre-build test, you’ll need the following components:
- Motherboard
- CPU + cooler
- One stick of RAM
- Power supply
- Graphics card (only if your CPU doesn’t have integrated graphics)
- Monitor
- Keyboard (optional, for BIOS access)
You can also prepare a flat, non-conductive surface like:
- A wooden desk
- The motherboard box
- An anti-static mat (ideal)
Never place components directly on metal or carpeted floors.
Step-by-Step: How to Test Your Components
1. Set Up the Workspace
Place your motherboard on the box it came in. It provides a stable and safe base.
Keep all anti-static packaging nearby, and if available, wear an anti-static wrist strap to avoid damaging sensitive components.
2. Install the CPU
Open the CPU socket on the motherboard and carefully install your processor.
- Align the triangle on the CPU with the triangle on the socket.
- Gently lower it into place and close the retention arm.
3. Install the CPU Cooler
Attach the stock or aftermarket cooler:
- For air coolers, apply thermal paste if required (some come pre-applied).
- Plug the fan header into the CPU_FAN slot on the motherboard.
4. Insert One Stick of RAM
Install a single stick of RAM in the A2 slot (second from the CPU), unless your manual suggests otherwise.
Push firmly until you hear the click of the latches locking in place.
5. Connect the Power Supply
Hook up your PSU to:
- The 24-pin ATX power connector
- The 8-pin CPU power connector
If you’re using a discrete GPU:
- Connect the PCIe power cable(s) as well.
Plug the PSU into the wall, and make sure the switch is set to “On” (position “I”).
6. Install the Graphics Card (If Needed)
If your CPU does not have integrated graphics (like AMD Ryzen 5 5600X), you’ll need to install your GPU:
- Insert it into the top PCIe slot
- Connect the power cable if required
- Plug the monitor into the GPU, not the motherboard
If your CPU has integrated graphics, you can skip the GPU at this stage and use the motherboard’s video output.
7. Connect a Monitor
Use HDMI, DisplayPort, or DVI to connect the system to a monitor.
Turn on the monitor and select the correct input source.
8. Power It On
You don’t need a case or power button at this point. To start the system:
- Use a flathead screwdriver to gently short the two power switch pins on the motherboard.
- Touch the metal ends together briefly—the system should power on.
Look for:
- Fans spinning (CPU, GPU, PSU)
- Motherboard debug LEDs (if available)
- Beep sounds (if your board has a speaker)
- Signal on the monitor (BIOS or manufacturer logo)
If all goes well, you’ll reach the BIOS screen.
9. Enter BIOS and Check Info
Press DEL or F2 to enter BIOS/UEFI.
Verify the following:
- CPU is detected
- RAM is detected correctly
- System temperatures look normal (25–50°C)
- BIOS version is up to date (optional)
If you’re using XMP/DOCP memory, you can enable it later inside BIOS—no need for that now.
10. Shut Down and Prepare for Final Assembly
If everything works:
- Power down the system
- Unplug components
- Begin installing them inside the case with confidence
If something didn’t work, this is the perfect moment to swap or troubleshoot without disassembling the entire build.
What If Something Doesn’t Work?
Use this mini checklist:
- No power? Check PSU switch and cables.
- No display? Try the other RAM slot, test with/without GPU, check monitor input.
- No fans? PSU might be faulty or CPU cable not plugged in.
- Beep codes or LED error lights? Refer to your motherboard manual.
Try resetting CMOS, reseating RAM, or even removing and reinstalling the CPU if needed.
Bonus Tip: Flash BIOS Without a CPU
Some motherboards support BIOS Flashback, letting you update the BIOS without a CPU or RAM. This is especially useful if your CPU is newer than the motherboard’s supported version.
To use it:
- Place the correct BIOS file on a USB drive.
- Insert into the designated USB port (check manual).
- Press and hold the Flashback button.
Check your motherboard specs to see if this feature is available.
Final Thoughts: A Smart Builder Tests First
Testing your components outside the case may seem like extra work, but it’s one of the most valuable steps in building a stable, problem-free PC. It helps you avoid the frustration of diagnosing issues once everything’s screwed in and wired up.
It also gives new builders the opportunity to learn how components interact, gain confidence, and understand the boot process.
Take your time, be patient, and treat this step as a critical part of your PC-building process—not an optional one.
