When you complete a custom PC build, one of the most important post-setup tasks is making sure all your drivers and BIOS firmware are up to date. This step is often skipped by beginners, but it’s essential for system stability, performance, and compatibility.
In this article, we’ll walk you through why and how to update your drivers and BIOS safely and efficiently, especially after building a new PC.
Why Updating Drivers Is Crucial
Drivers are pieces of software that allow your operating system to communicate with your hardware. Without updated drivers:
- Your GPU might not perform optimally
- Your motherboard features (like audio, Wi-Fi, USB ports) may not work correctly
- Your system might crash or show random errors
- Games and professional software may fail to launch
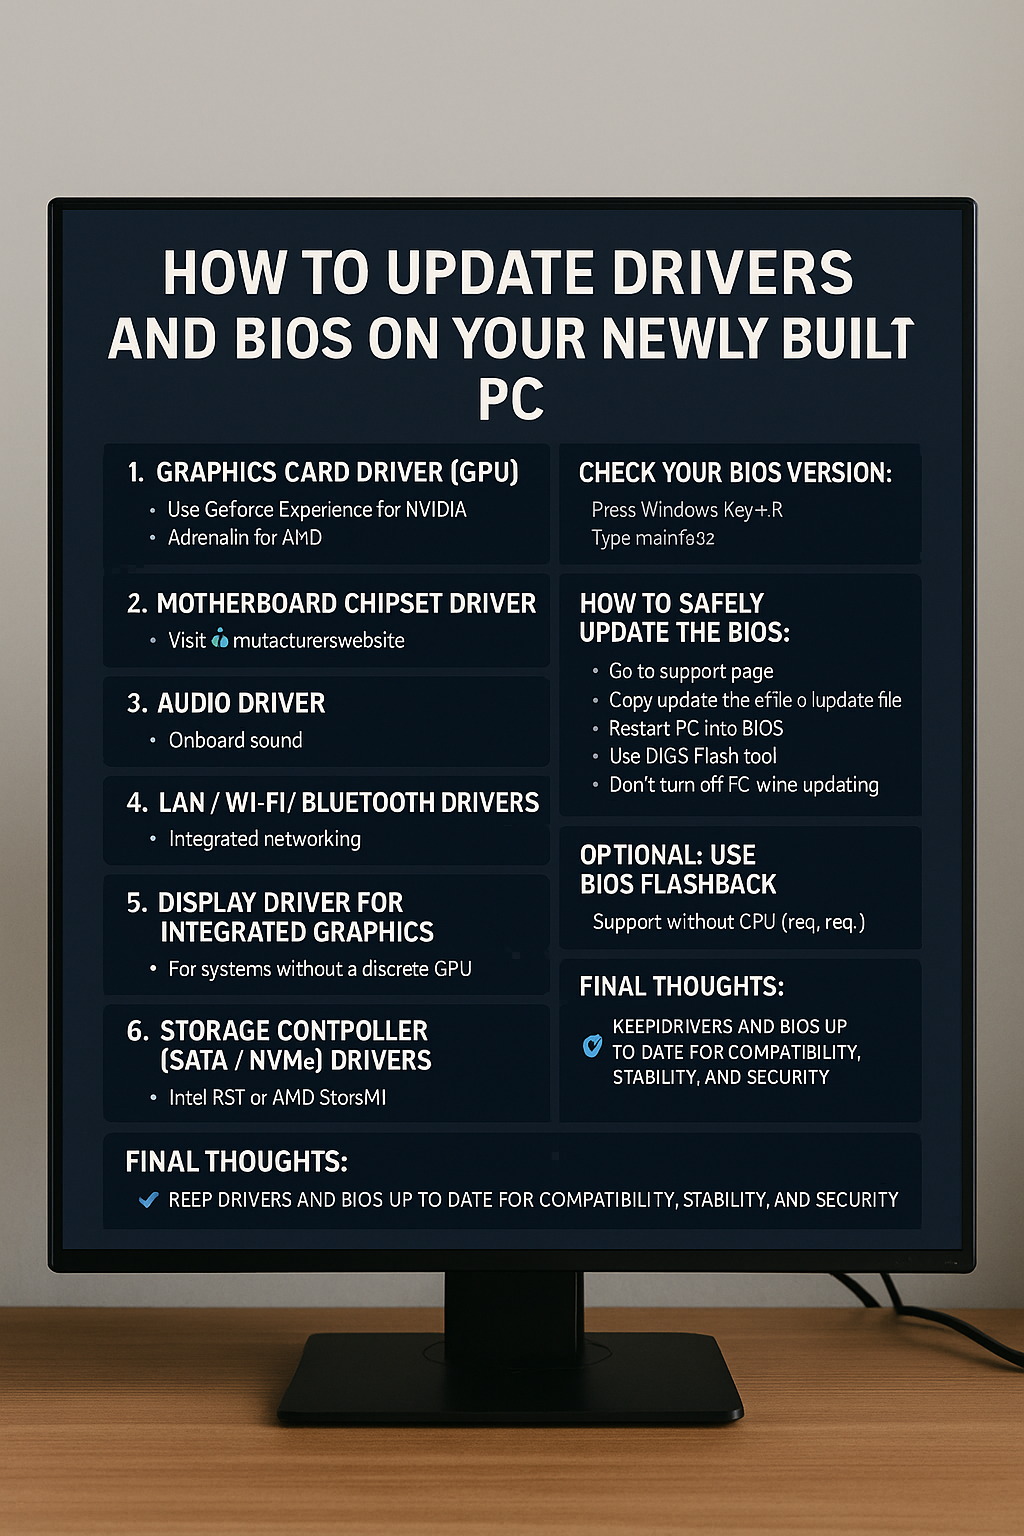
Types of Drivers You Need to Update
1. Graphics Card Driver (GPU)
This is one of the most important drivers to update, especially for gamers or video editors.
How to update:
- Visit the official site for your GPU brand:
- NVIDIA: www.nvidia.com/Download
- AMD: www.amd.com/en/support
- Use their software tools:
- GeForce Experience (NVIDIA)
- AMD Adrenalin (AMD)
- Download and install the latest Game Ready or Studio drivers.
2. Motherboard Chipset Driver
These drivers control how your motherboard communicates with the CPU and other components.
How to update:
- Go to your motherboard manufacturer’s website (e.g., ASUS, MSI, Gigabyte)
- Search for your specific model
- Download and install the latest chipset driver for your version of Windows
3. Audio Driver
If you’re using onboard sound, update your audio driver to get proper sound output and support for microphones or speakers.
- Usually available under the Realtek or HD Audio section on your motherboard’s support page.
4. LAN/Wi-Fi/Bluetooth Drivers
These drivers are essential for internet and device connectivity.
- Download these from the motherboard support page if you have integrated networking.
- If you have a separate PCIe Wi-Fi card, go to the manufacturer’s site for updates.
5. Display Drivers for Integrated Graphics
Even if you’re using a dedicated GPU, it’s a good idea to update your iGPU (integrated GPU) drivers, especially on laptops or systems without a discrete GPU.
6. Storage Controller (SATA/NVMe) Drivers
These drivers ensure your SSD or hard drive communicates properly with the system.
They are usually included in Intel RST (Rapid Storage Technology) or AMD StoreMI packages.
How to Check for Outdated Drivers
You can manually check driver versions by:
- Right-clicking Start > Device Manager
- Expanding each category (e.g., “Display adapters,” “Sound, video and game controllers”)
- Right-clicking the device > Properties > Driver tab
However, this can be time-consuming. Instead, you can use tools like:
- Driver Booster (by IObit)
- Snappy Driver Installer
- Manufacturer software (like Intel Driver & Support Assistant)
These programs scan your system and recommend the latest drivers.
BIOS: What Is It and Why Update It?
The BIOS (Basic Input/Output System) or UEFI is the firmware that controls your motherboard at the most basic level. It loads before Windows and handles the communication between your OS and hardware.
Reasons to update BIOS:
- Improve hardware compatibility (e.g., support for new CPUs or RAM)
- Fix bugs or stability issues
- Improve performance or system security
- Enable new motherboard features
However, BIOS updates should only be done when necessary, as a failed update can potentially brick your motherboard.
How to Check Your BIOS Version
- Press
Windows + R, typemsinfo32, and press Enter - Look for the line “BIOS Version/Date”
- Compare this version with the one listed on your motherboard manufacturer’s website under “Support > BIOS”
How to Safely Update the BIOS
Step-by-Step:
- Go to the motherboard manufacturer’s support page
- Download the latest BIOS update for your exact model
- Read the release notes — make sure it applies to your situation
- Extract the file and copy it to a FAT32-formatted USB flash drive
- Reboot your PC and enter BIOS (usually by pressing DEL or F2 during startup)
- Use the EZ Flash, M-Flash, or Q-Flash tool (name varies by brand)
- Select your BIOS file from the USB drive and confirm the update
Important Tips:
- Do not turn off your PC during the BIOS update
- Use a UPS if possible, to prevent power loss
- Don’t interrupt the process or remove the USB
Optional: Use BIOS Flashback (No CPU Required)
Some modern motherboards support BIOS Flashback, which lets you update BIOS without even installing a CPU or RAM.
This is useful if:
- You have a new CPU that isn’t supported by the out-of-the-box BIOS
- You’re building your PC and don’t have all parts yet
Check your motherboard manual to see if it supports this feature.
Final Thoughts: Keep It Current, Keep It Stable
Keeping your drivers and BIOS up to date is a critical part of post-build maintenance. It ensures that your new PC runs efficiently, stays secure, and is compatible with future software and hardware updates.
Quick Recap:
✅ Update GPU, chipset, audio, network, and storage drivers
✅ Use official websites or trusted tools
✅ Only update BIOS when necessary — and follow instructions carefully
✅ BIOS updates can unlock new features and compatibility
A well-maintained system is a high-performing system — and it all starts with up-to-date drivers and firmware.