Building your own PC is one of the most satisfying experiences a tech enthusiast can have. However, the process is also full of small yet costly mistakes that can lead to hardware damage, performance issues, or frustrating troubleshooting sessions. Whether you’re a first-time builder or a seasoned DIYer, avoiding these common pitfalls can save you time, money, and stress.
In this article, we’ll go over the most frequent mistakes people make when building a computer—and how to prevent each one.
1. Not Checking Component Compatibility
One of the biggest mistakes beginners make is buying parts that don’t work together.
Common Compatibility Issues:
- CPU and motherboard socket mismatch (e.g., buying an AMD AM5 CPU with an Intel motherboard).
- RAM not supported by the motherboard (wrong speed, type, or capacity).
- Case too small for GPU or CPU cooler.
- Power supply not providing enough wattage for the build.
How to Avoid:
- Use PCPartPicker.com to check for compatibility.
- Read the motherboard’s QVL (Qualified Vendor List) for supported RAM.
- Measure your case space before ordering large GPUs or coolers.
2. Forgetting to Use Motherboard Standoffs
When installing the motherboard, standoffs (small metal spacers) must be used to prevent the board from touching the case directly.
Why It Matters:
Without standoffs, the motherboard’s circuits can short out upon contact with the case, potentially frying the board or other parts.
How to Avoid:
- Always install standoffs in the case where the motherboard screws will go.
- Only install standoffs that line up with holes in your motherboard.
3. Applying Too Much (or No) Thermal Paste
Thermal paste helps conduct heat from the CPU to the cooler. Improper application is a common error.
Common Mistakes:
- Using too much: It oozes out and can cause overheating.
- Using none: Leads to poor cooling and thermal throttling.
- Reusing old paste: Reduces performance.
How to Apply:
- Use a pea-sized drop in the center of the CPU.
- Spread naturally with the pressure from installing the cooler.
- If your cooler has pre-applied thermal paste, no need to add more.
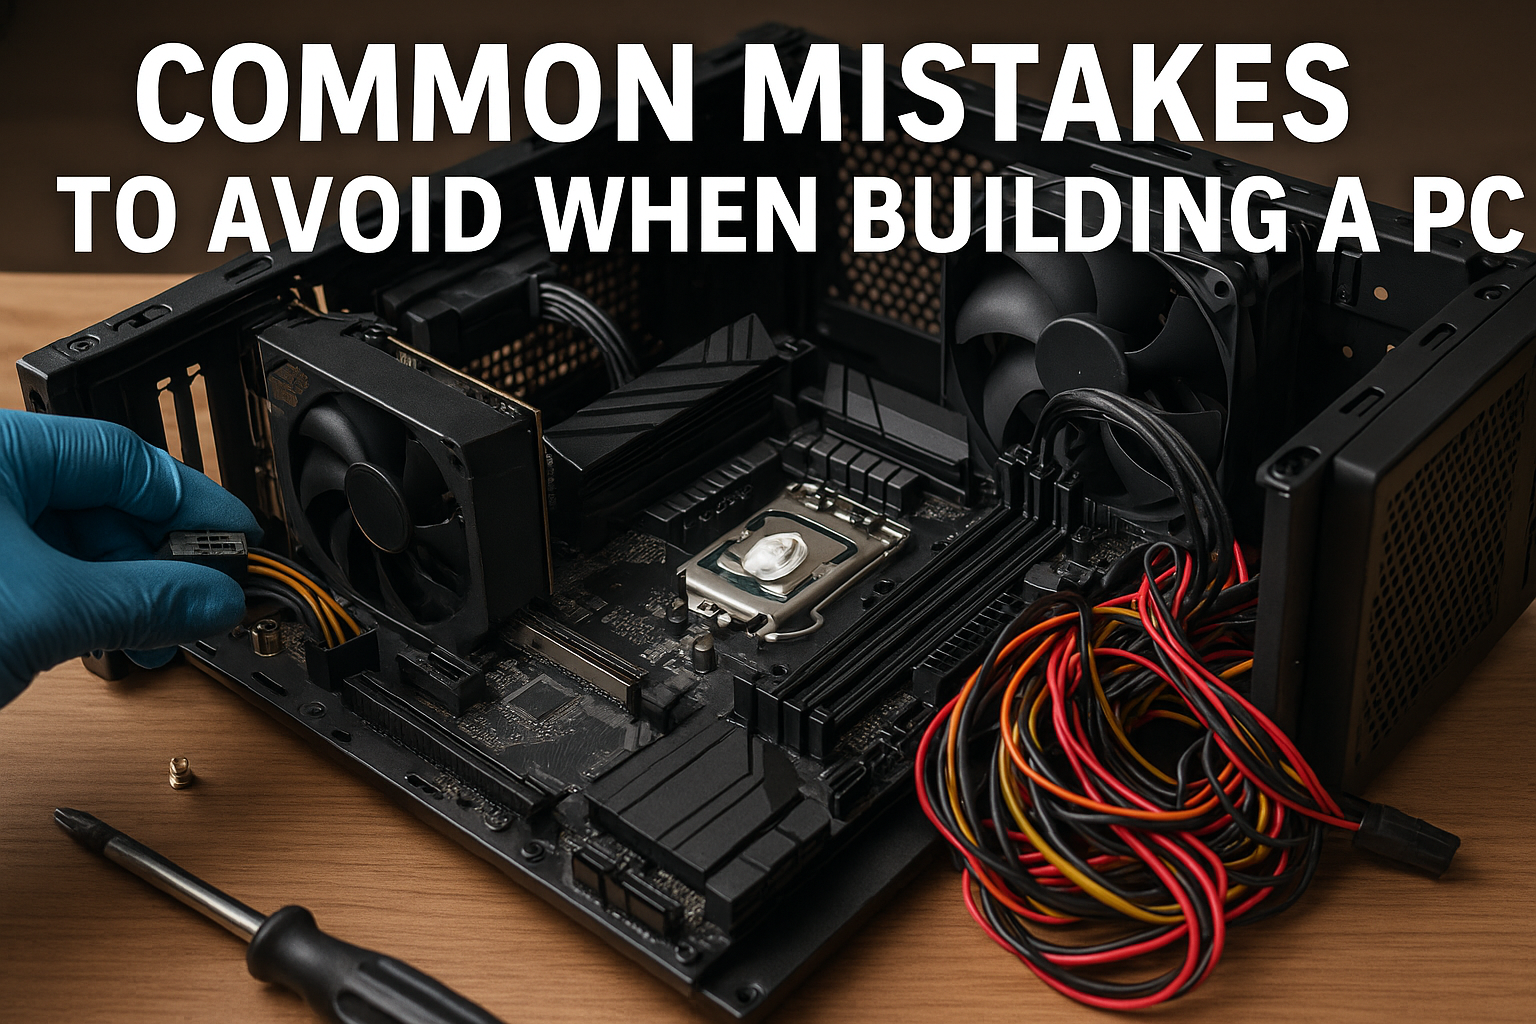
4. Not Connecting All Power Cables
New builders often forget essential power cables—especially the 8-pin CPU cable and PCIe power for the GPU.
Signs of the Problem:
- PC doesn’t turn on at all.
- Fans spin but no display.
- GPU or motherboard lights show errors.
How to Avoid:
- Double-check:
- 24-pin ATX cable to motherboard.
- 8-pin (or 4+4) EPS cable to CPU power header.
- 6/8-pin PCIe to GPU (if needed).
5. Poor Cable Management
Messy cables aren’t just an eyesore—they can block airflow and make future upgrades harder.
Problems Caused:
- Overheating due to blocked airflow.
- Difficulty accessing components.
- Loose cables touching fans.
How to Improve:
- Route cables behind the motherboard tray when possible.
- Use Velcro straps or zip ties to bundle cables neatly.
- Choose a case with cable management features.
6. Not Updating BIOS for Newer CPUs
Sometimes a new CPU won’t work with an older motherboard unless the BIOS is updated.
Common Scenario:
- You buy a newer AMD or Intel CPU, but the system won’t boot because the board’s BIOS doesn’t support it yet.
Solutions:
- Buy a motherboard with “CPU ready” sticker.
- Choose a board with BIOS flashback feature, so you can update BIOS without a CPU.
- Check the motherboard’s CPU support list before buying.
7. Forgetting to Plug in the Front Panel Connectors Correctly
The tiny wires for the power button, reset button, and LEDs are often confusing.
Issues:
- Pressing power button does nothing.
- Lights or reset button don’t work.
Fix:
- Refer to the motherboard manual for the correct front panel pin layout.
- Plug in each connector carefully—double-check orientation.
8. Not Installing RAM Correctly
RAM that’s not fully seated or installed in the wrong slots leads to boot failures or reduced performance.
Common Mistakes:
- Only one stick installed in dual-channel boards.
- Sticks installed in the wrong DIMM slots.
- RAM not clicked in fully on both ends.
How to Avoid:
- Check your motherboard manual for the recommended RAM slots.
- Press RAM sticks down firmly until both latches click.
9. Failing to Check PSU Wattage or Quality
A weak or generic power supply can lead to crashes or even damage components.
Signs of an Underpowered PSU:
- Random shutdowns or reboots under load.
- GPU crashes during games.
How to Avoid:
- Use a PSU calculator to determine needed wattage.
- Choose a brand-name PSU with 80+ Bronze certification or better.
- Add 20–30% wattage headroom for safety.
10. Forgetting to Remove Plastic Film or Stickers
Some parts come with protective films, especially on CPU coolers or cases.
Risks:
- Leaving plastic on a cooler’s contact plate prevents heat transfer.
- Films on fan vents or intakes block airflow.
How to Avoid:
- Inspect all components during unboxing.
- Remove any non-functional stickers or film before installation.
11. Skipping a Boot Test Before Final Assembly
Many builders install everything before checking if the system boots—leading to frustrating disassembly if something doesn’t work.
Recommended Practice:
- Test the core components outside the case on a non-conductive surface (like the motherboard box).
- Connect CPU, RAM, PSU, and GPU (if needed), then power on to verify it boots to BIOS.
12. Not Installing the I/O Shield (Or Forgetting Until It’s Too Late)
The I/O shield is the metal plate that covers the ports on the back of the motherboard.
Mistake:
- Forgetting to install it before the motherboard, then realizing it doesn’t fit afterward.
Tip:
- Always insert the I/O shield before mounting the motherboard inside the case.
13. Ignoring Airflow and Fan Placement
Fans installed backwards or poor airflow design can lead to overheating.
Common Errors:
- All fans set as intake or exhaust.
- No intake fans at the front.
- Blocked airflow from GPU or drive cages.
Best Practice:
- Front fans: Intake
- Top and rear fans: Exhaust
- Keep airflow balanced for optimal cooling.
14. Not Installing the Operating System Properly
After assembling the PC, OS installation should be smooth—but often goes wrong due to boot settings or wrong media.
Mistakes:
- No bootable USB prepared.
- Boot priority not set in BIOS.
- Drivers not installed after OS setup.
Fix:
- Use the Media Creation Tool (for Windows) to make a bootable USB.
- Enter BIOS and set the USB drive as boot device.
- After installation, download chipset, GPU, and motherboard drivers.
Final Thoughts: Build Smart, Avoid Regret
Building a PC is incredibly fun and educational, but even one small mistake can lead to hours of troubleshooting or worse—damaged components. By learning from the common errors shared here, you’ll be able to approach your build with confidence and clarity.
Summary of What to Avoid:
- Mixing incompatible components
- Skipping power cables
- Improper RAM or CPU installation
- Neglecting airflow
- Forgetting firmware updates
- Ignoring cable management
- Failing to test before final assembly
Take your time, follow guides carefully, and double-check each step before moving forward. With care and patience, your PC build will come together smoothly—and power on perfectly the first time.