You’ve installed every component, connected all the cables, and powered on your PC — now what? After building a computer, the next crucial step is to test everything thoroughly to ensure your system is stable, cool, and performing as expected.
In this guide, you’ll learn how to test your newly built PC — from the first boot to stress testing — so you can catch potential issues early and enjoy a smooth, reliable experience from day one.
First Boot Checklist
Before running any benchmarks or software, make sure your PC powers on correctly and your components are recognized.
✅ Key things to check on first boot:
- All fans spin properly (case, CPU, GPU)
- BIOS screen appears on your monitor
- Keyboard and mouse are detected
- No error beeps (if your motherboard has a speaker)
- BIOS detects CPU, RAM, drives, and GPU
If nothing appears on screen or you hear beeping, consult your motherboard manual to decode error codes.
Update Your BIOS (If Needed)
Some motherboards ship with outdated firmware, especially if your CPU is a newer release. A BIOS update can fix:
- Compatibility issues
- Boot errors
- Stability problems
⚠️ Only update BIOS if necessary, and never interrupt power during the update.
Install the Operating System
If everything checks out in BIOS, install your OS:
- Insert a bootable USB drive with Windows or Linux
- Set the USB drive as first in the boot order
- Follow the installation prompts
Once installed, proceed to install chipset drivers, GPU drivers, and motherboard utilities.
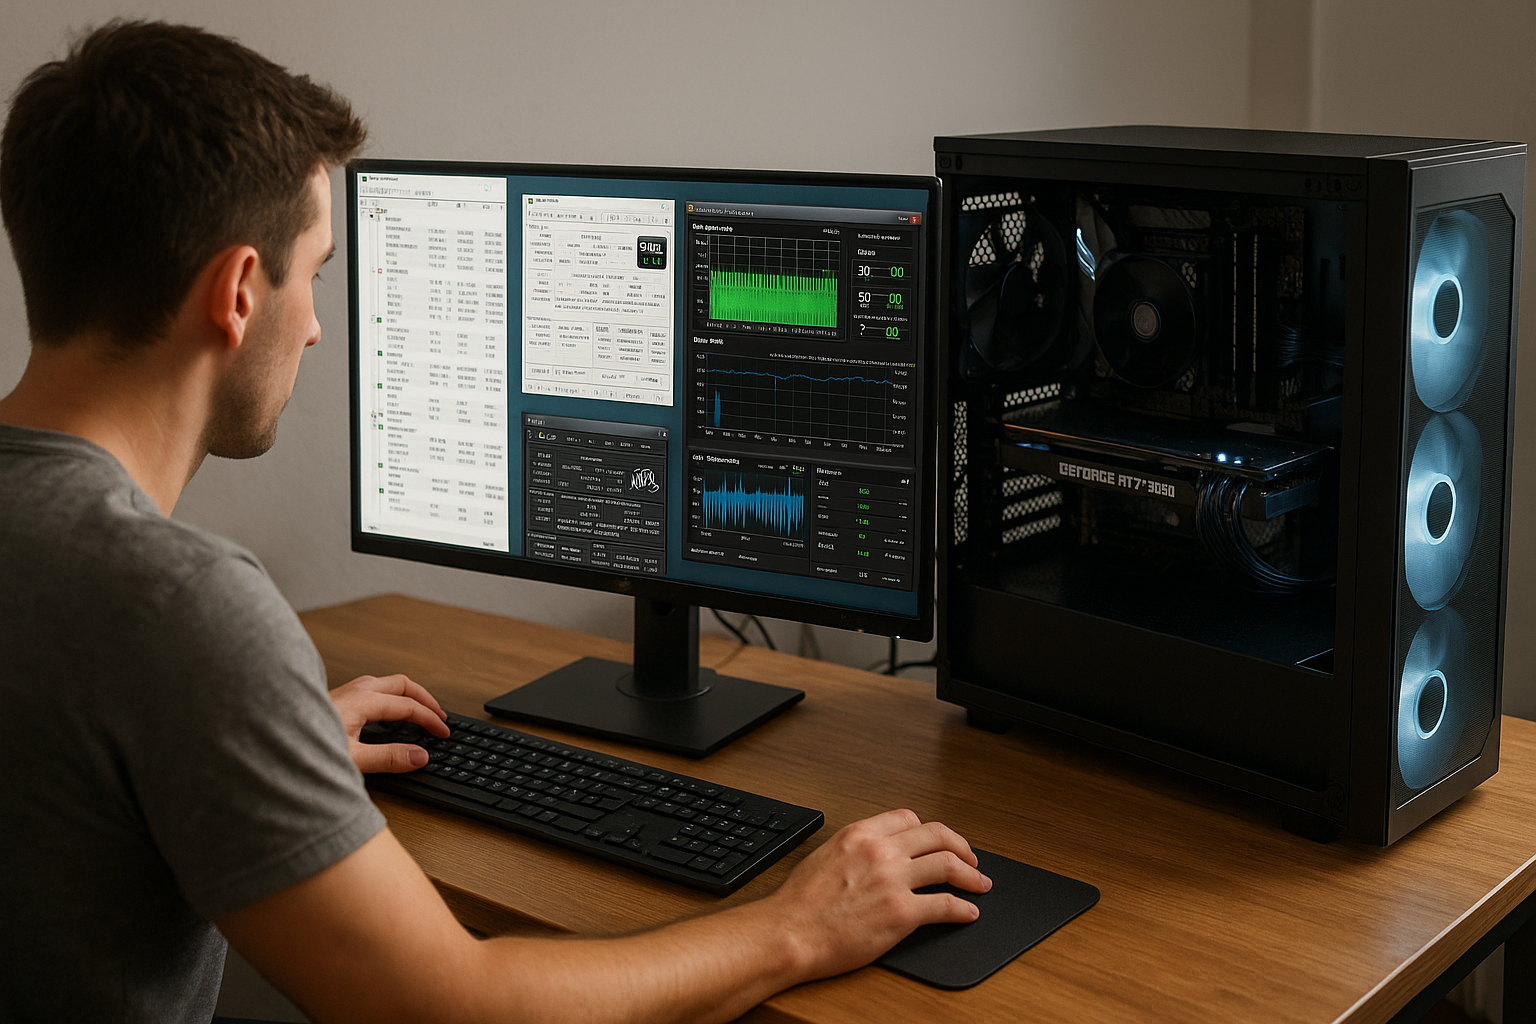
Monitor Temperatures
One of the most important post-build tests is temperature monitoring. You want to ensure your PC isn’t overheating, especially under load.
Use tools like:
- HWMonitor
- CoreTemp
- MSI Afterburner
- HWiNFO
Safe temperature ranges:
- CPU idle: 30–45°C
- CPU under load: 65–85°C
- GPU idle: 30–50°C
- GPU under load: 70–85°C
If you’re seeing temps above these, double-check:
- Thermal paste application
- CPU cooler installation
- Case airflow
- Fan configuration
Run a Benchmark or Stress Test
To evaluate the stability and performance of your system, run benchmark and stress test tools.
🔧 CPU Stress Tests:
- Prime95: Pushes CPU to 100% load
- Cinebench R23: Measures rendering performance
🔧 GPU Stress Tests:
- FurMark: Intense GPU test (watch temperatures closely)
- 3DMark: Realistic performance benchmarking
🔧 RAM & System:
- MemTest86: Checks RAM for errors (bootable USB)
- AIDA64: Complete system diagnostics and testing
How long should you stress test?
- Initial stability check: 15–30 minutes
- Full confidence: 6–12 hours (especially for overclocked systems)
If your PC crashes, freezes, or restarts, dial back any overclocking or recheck power connections and cooling.
Check for Driver Updates
Updated drivers improve performance and compatibility. Use the following:
- GPU Drivers: NVIDIA GeForce Experience or AMD Adrenalin
- Chipset Drivers: Manufacturer’s website (ASUS, MSI, Gigabyte, etc.)
- Audio, LAN, and USB: Often included on the motherboard support page
Optional: Use a driver updater like Snappy Driver Installer or Driver Booster, but be cautious with third-party tools.
Test Storage Speeds
After installing your drives, test their performance to ensure you’re getting expected read/write speeds.
Tools:
- CrystalDiskMark: Benchmark SSD and HDD performance
- AS SSD Benchmark: Great for SATA/NVMe testing
Expected speeds:
- SATA SSD: ~500MB/s
- NVMe SSD: 1500–7000MB/s depending on generation
- HDD: 80–160MB/s
If speeds are much lower, check:
- Drive is connected to correct port (SATA III, PCIe 3.0/4.0)
- BIOS settings (AHCI enabled for SATA)
Test Ports and Peripherals
Make sure all your external I/O is functioning properly:
- USB ports (front and back)
- Audio jacks
- Ethernet and/or Wi-Fi
- Display outputs (HDMI, DisplayPort)
- SD card readers or other accessories
Plug in and test each one to ensure full functionality.
Optional: Perform a Gaming or Real-World Test
Real-world usage is the ultimate test. Open your favorite game or creative software and observe:
- Frame rates (FPS)
- Load times
- Noise levels
- System responsiveness
Use tools like MSI Afterburner with RTSS overlay to display FPS, temps, and usage in real-time while gaming.
Backup and Recovery Setup
Once everything is running smoothly, take a moment to:
- Set up System Restore or backup tools
- Create a recovery USB
- Make an image of your clean install (using tools like Macrium Reflect)
This helps you recover quickly if something goes wrong in the future.
Final Thoughts: Test Today, Enjoy Tomorrow
Building a PC is just the first step — testing ensures that it works reliably. Taking the time to stress test, monitor temps, update drivers, and fine-tune your setup will save you from unexpected crashes, throttling, or hardware issues down the line.
Quick Recap:
- Check temps and component detection at first boot
- Update BIOS if needed
- Install OS and drivers
- Run stress tests for CPU, GPU, and RAM
- Benchmark storage and ports
- Play games or run your real workloads
Once you’ve verified everything, enjoy the satisfaction of a stable, fast, and well-built PC — one you built with your own hands!